How to deploy Ghost on Clever Cloud?
👻 Install Ghost locally
First, we need to init a fresh new Ghost application. According to the documentation, we need to install the ghost-cli package globally:
$ npm install ghost-cli -g
Then, we can install a local Ghost with this command:
$ ghost install local
🎉 We have a brand new Ghost application accessible via http://localhost:2368
🤔 “Where is my data?”
Ghost documentation says:
The SQLite3 database is auto-setup and located in
/content/data/
Okay, now let’s explore what’s just been installed:
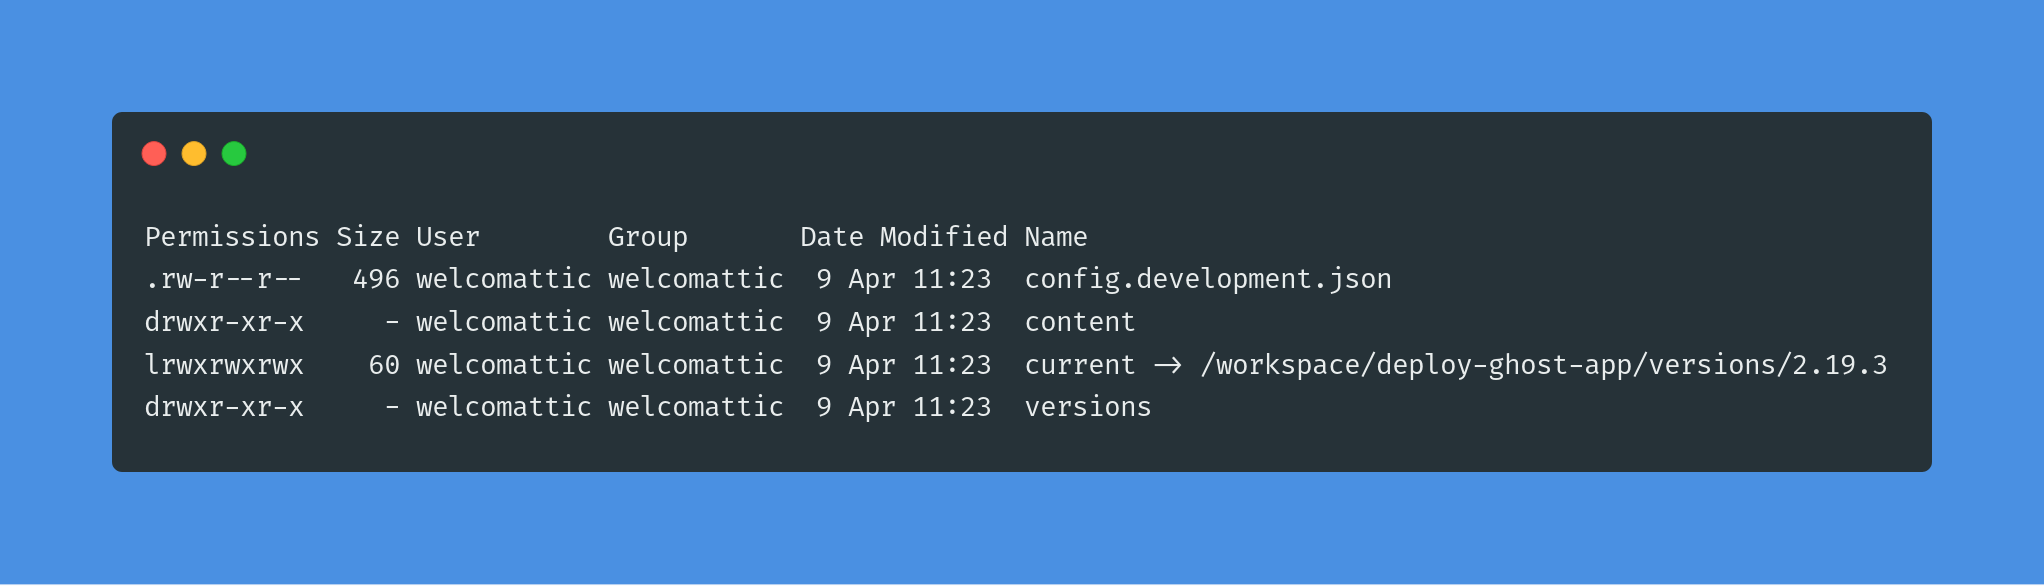
🤔 bis “Where is package.json?”
It’s located in current which is a symlink to the current version of Ghost for our instance. Yes, it’s a bit strange but ok, let’s deal with it.
Clever Cloud documentation says:
- you have pushed in master branch
- you listen on 0.0.0.0:8080
- your package.json either has a scripts.start or main field
With our Ghost app, we have 2 problems:
- We don’t listen on 8080 (default port of Ghost is 2368)
- We don’t have a
package.jsonat the root of our app
Let’s fix this!
🔧 Make Ghost ready to be deployed
The directory versions/2.19.3 directory contains this:
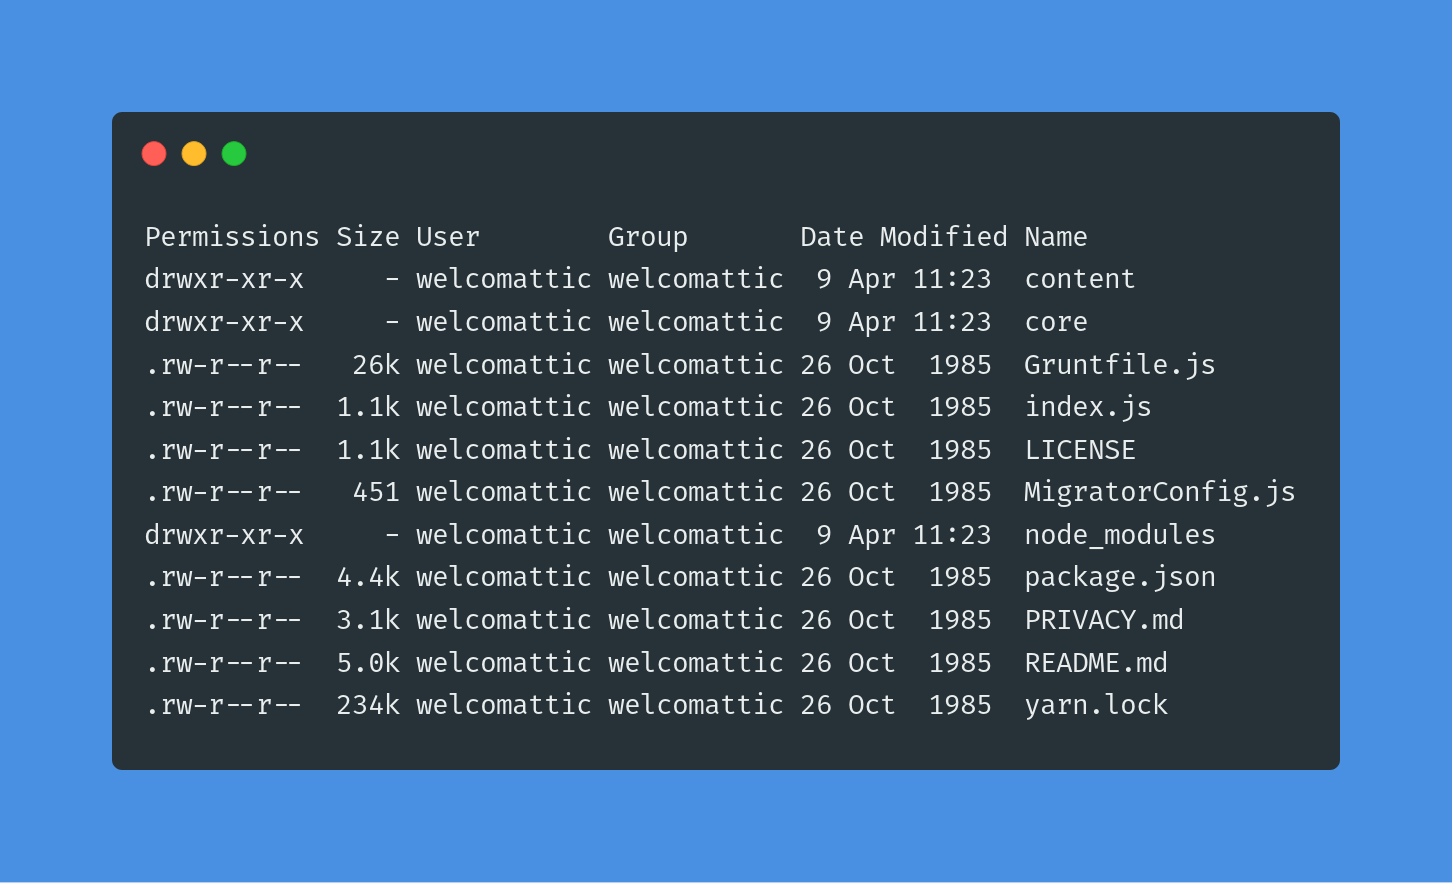
We can see a content directory, which contains the same structure as the root content directory. So, I suppose that we can merge them.
Let’s move this structure to the root of our app (make sure to replace version number by our own):
- backup our
contentdirectory
$ mv content _content
- move Ghost instance to the root directory
$ mv versions/2.19.3/* .
⚠ You have to merge manually
_contentwhich contains your data, files and themes andcontentwhich contains default things.
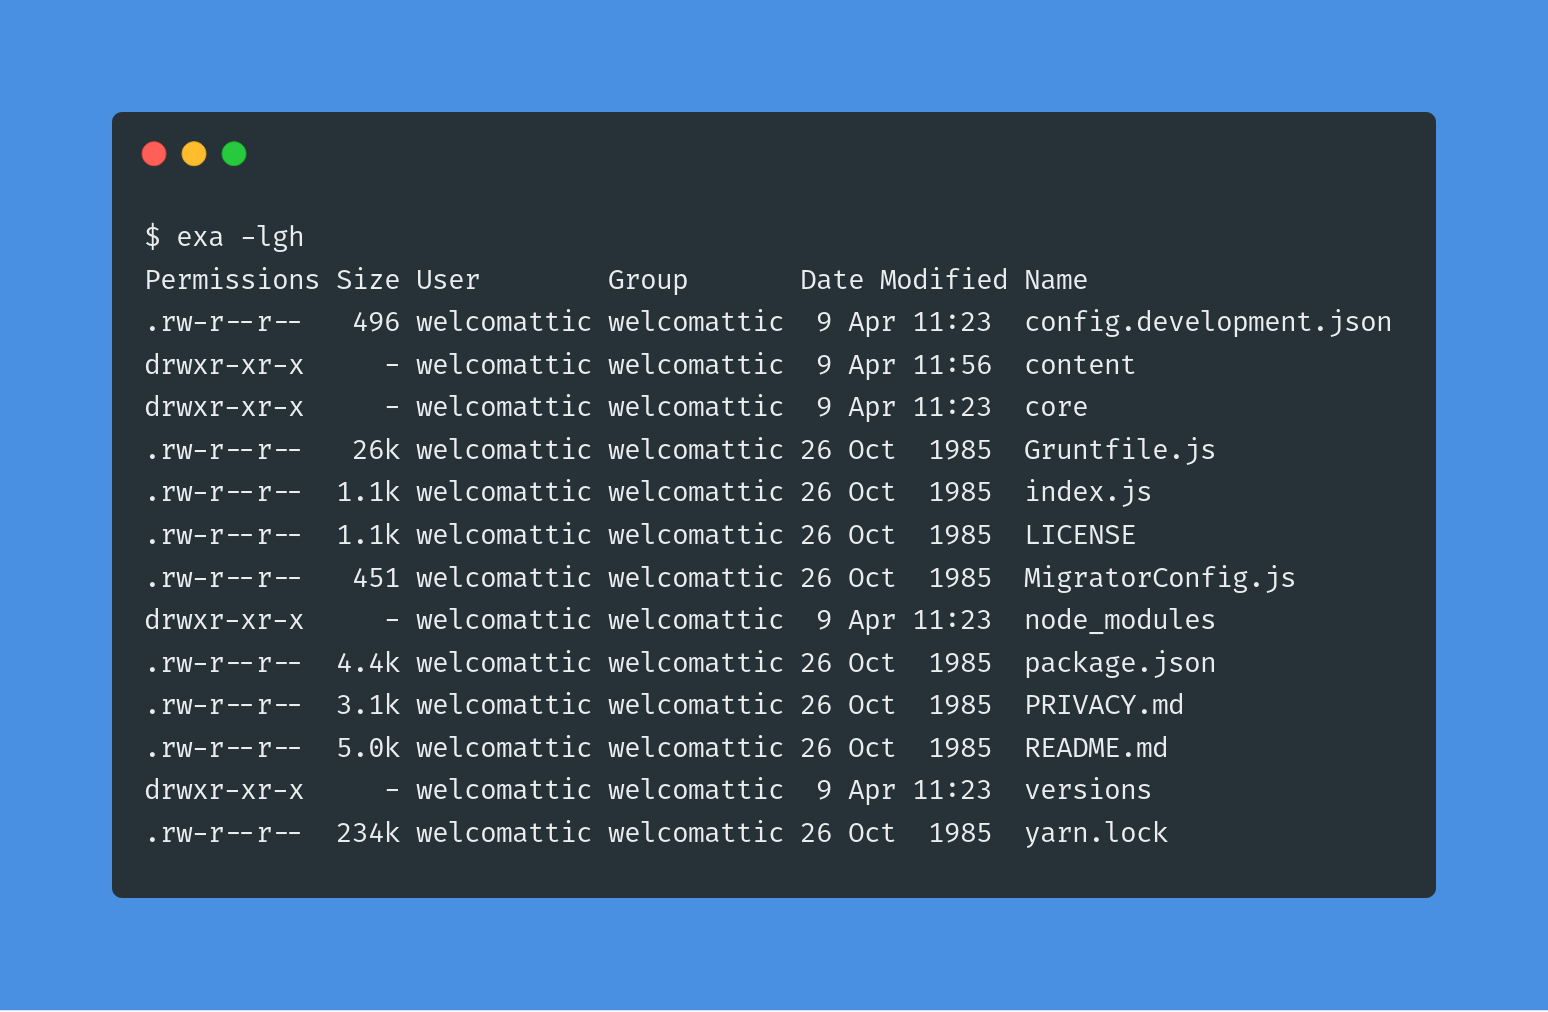
- see the result
Now, we have to configure Ghost for production environment. To do this, we copy config.development.json to config.production.json and edit it like this:
{
  "url": "https://YOUR_CC_APP_ID.cleverapps.io/",
  "server": {
    "port": 8080,
    "host": "0.0.0.0"
  },
  "database": {
    "client": "sqlite3",
    "connection": {
      "filename": "content/data/ghost-prod.db"
    }
  },
  "mail": {
    "transport": "Direct"
  },
  "logging": {
    "transports": [
      "file",
      "stdout"
    ]
  },
  "process": "local",
  "paths": {
    "contentPath": "content/"
  }
}
As mentionned earlier, Clever Cloud needs a start entry under scripts in package.json. By default Ghost gets one, but we have to update it to force Ghost to to start in production mode:
"start": "NODE_ENV=production node index",A last step before next chapter, we must add content directory to the .gitignore file, which should be like this:
node_modules/
content/
.ghostpid
Now, our app is ready. Let’s open Clever Cloud dashboard to prepare the deployment.
💡☁ Create a NodeJS application on Clever Cloud
I invite you to follow official documentation to create a NodeJS application.
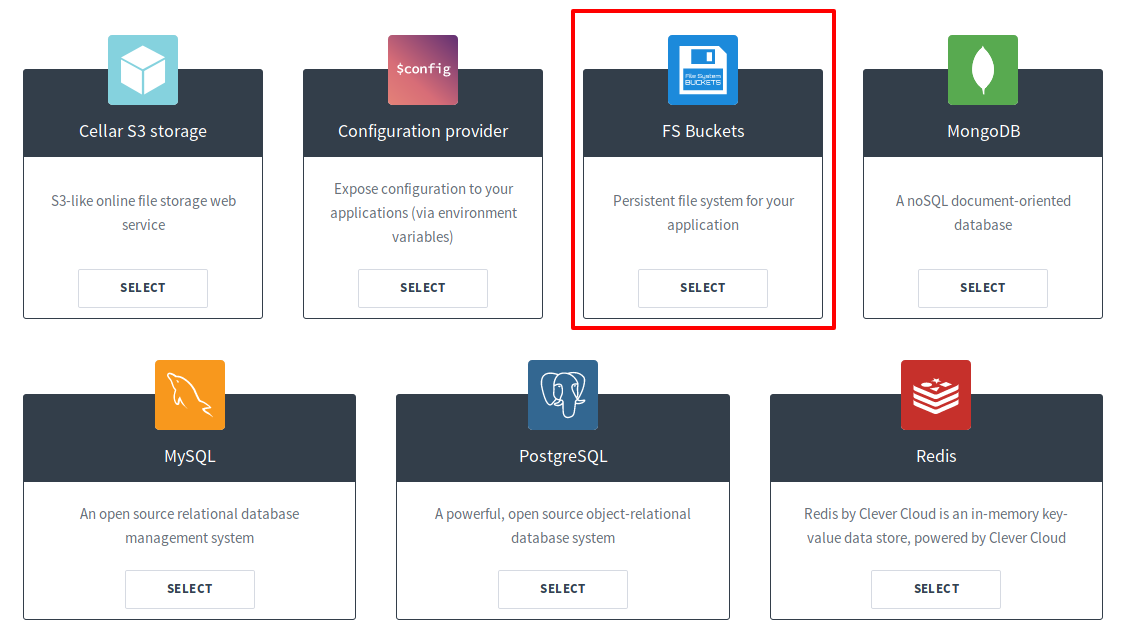
Once it’s done, we need to link an FS addon to our application. To do this, go to the addon creation page and select FS Bucket:
Then, go back in your application settings, go to “Service dependencies” item, and link your addon to your app.
The last step takes place in “Environment variables”. You should see a BUCKET_HOST variable on the second aprt of the page. Now, create a new variable CC_FS_BUCKET with this value content:<the value of BUCKET_HOST>.
🚀 Let’s push!
If your create your Clever Cloud application from a GitHub repository, you only have to git push your code to GitHub, and Clever Cloud will automatically deploy your code!
If not, you have to follow this documentation to add Clever Cloud remote to your git configuration. Then you will be able to push to Clever Cloud!
Thanks for reading!
enjoy();